Install the product:
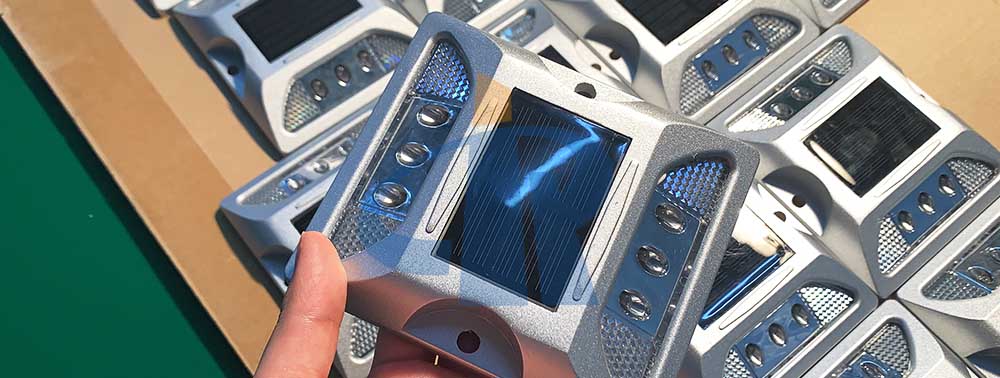
solar studs
Auxiliary materials:
Epoxy A, B, Cement
Solar studs detailed installation steps:
(1) First, use a ruler to determine the installation position, install one at 15m, (or install according to the installation distance required by the drawing), ensure that each position is longitudinally in a straight line, and at the same time align horizontally and left-right, and the installation distance is subject to the design requirements.

(2) The ratio of glue for
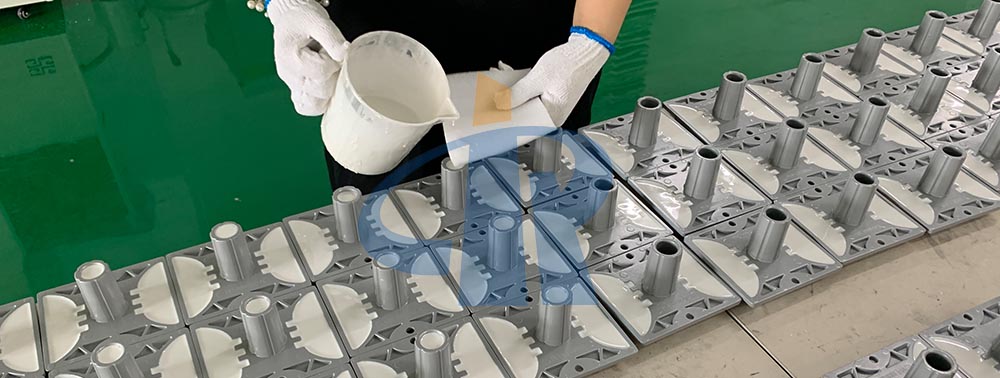
solar studs installation is 1:0.7 of glue A and glue B, and then add 15%-30% cement as filler. (The addition of cement can increase the strength of the glue after curing), the glue is not easy to stir too much at one time, enough for one person to stick 50-70
road studs. The colloid should be stirred evenly and the color should be consistent. (Hand drill with mixer) Each road stud needs about 40-50 grams of glue.
(3) The road surface where the
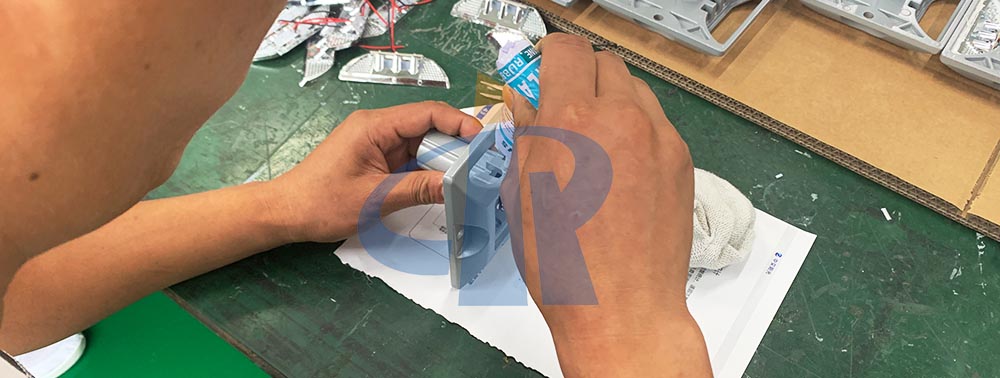
solar studs are installed should be cleaned. Use a batch knife about 40-50 grams of glue to apply to the back of the
solar studs, put it in the designated position, press hard and turn it left and right twice to make the
solar studs stick to the road surface. connected tightly.

(4) After the
solar studs are installed, scrape the glue overflowing around the
solar studs with a batch knife, and clean the road surface.
(5) 2 hours after installation, inspect the installation situation to check whether there are any missing or skewed installation.

Notes for
solar studs:
Do not touch the reflector of the
solar studs with your hands, to avoid the glue sticking to it and affecting the reflective effect!
It is forbidden to install solar studs in the places with water, damp and oil stains on the road, which will easily cause the
solar studs to fall off.
The solar studs were installed 4 hours after the evacuation of the road cone.


