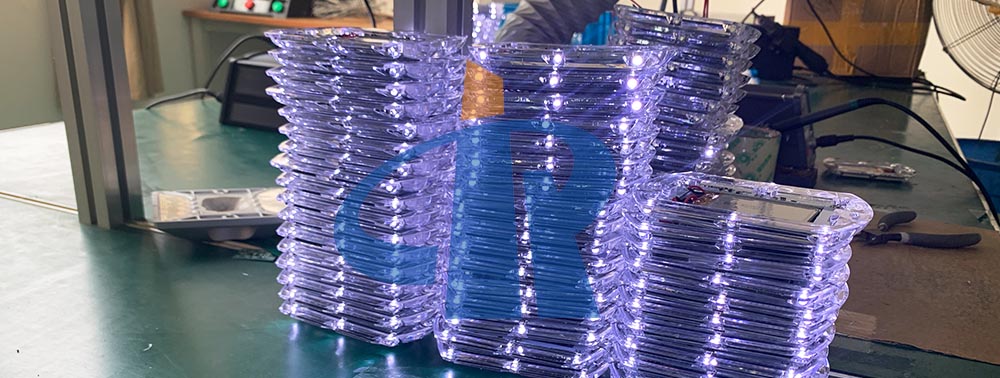
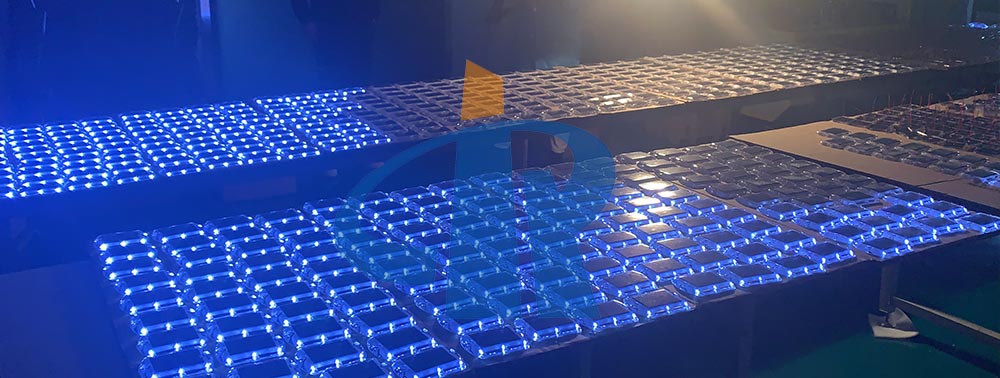
Road Studs mainly refers to a traffic safety facility. Protruding road signs with scientific names are mainly installed in the middle of the road markings or in the middle of the double yellow lines to remind the driver to drive in the lane through its retroreflective performance. The specification of
Road Studs is generally 100mm*100mm*20mm, and the maximum height does not exceed 25mm. There are many kinds of reflector units, such as reflector, reflector beads, led light, reflective film, etc. The installation of Road Studs generally adopts epoxy resin installation.
Road Studs can clearly outline the outline of the road with the help of car lights at night. Play a good visual inducing effect.

With the wide application of
Solar Road Studs in domestic high-grade highways and municipal roads, the quality and service life of Solar Road Studs have received more attention. In the actual application process,
Solar Road Studs are often damaged and the service life is reduced due to installation problems.
Based on the author's many years of construction experience, I summarized the problems that often occurred during the installation of
road studs, and put forward a reasonable installation method. I hope everyone will receive the goods.
The following are some of the problems that often occur during the installation of Solar Road Studs:
1.
Solar Road Studs are installed on the marking line.
The marking line is also a kind of resin material, which is attached to the ground, and its connection with the ground has a certain limit. If the
Solar Road Studs are installed on the marking line, the impact force of the Solar Road Studs is completely transferred to the marking line. In this way, the
Solar Road Studs is easily impacted and the marking line will also be glued.
2. The installation location of
Solar Studs is uneven.
The direct consequence of is the uneven force on the
Solar Studs. The pressure on the Solar Studs is almost concentrated on the convex and concave parts. If you encounter large-tonnage vehicles, Solar Studs can easily break.
3. The installation location of Solar Studs is not clean.

The firmness of
Solar Studs depends on the close combination of spikes, glue and the ground. If the installation location is not clean, the dust in between will absorb most of the adhesive force of the glue, causing the Solar Studs to be weakly bonded and easy to fall off when subjected to external impact.
4. The amount of installation glue is insufficient or excessive.
Insufficient dosage will reduce the firmness of Road Studs bonding and reduce its service life; if excessive dosage is used, excess glue will seep out from around Road Studs and easily rub onto the reflective sheet of
Road Studs, affecting its reflective brightness.
5. Road Studs installation glue is unevenly applied.
When installing
Road Studs, not only should the amount of glue be appropriate, but also be applied evenly, so as to ensure that all parts of the road stud are evenly stressed and avoid being crushed due to uneven force.
6. The ambient temperature is not enough when installing the glue on the Road Studs.
Road Studs installation glue is epoxy resin, it is a two-component glue, glue and curing agent must be proportioned according to a certain ratio, and the effect can only be exerted after uniform mixing. However, because epoxy resin glue condenses more severely in low temperature weather in winter, it is not easy to stir evenly, so it must be heated before use to let the glue soften before use.

7. The
Road Studs method is unscientific.
When holding the
Road Studs, be sure to hold the two sides without the reflector, so as not to stick the glue on the reflector and affect the brightness of the reflector.
8. The mounting hole is shallow and the hole is fine.
This is mainly for Solar Road Studs with cast aluminum feet.
Solar Road Studs with cast aluminum feet have better impact resistance, compression resistance, and longer service life because of their partial penetration into the ground. However, during the installation process, if the hole position is too shallow or too thin, the bottom surface of
Solar Road Studs will not be in full contact with the ground, which will affect the firmness of the bonding.
9. The glue curing time is not enough after installation.
After the
Solar Road Studs are installed, the glue needs a period of time to solidify to connect the Solar Road Studs to the ground tightly. The recommended period of time is 6-8 hours. But in the actual process, many people remove the installation isolation facilities less than two hours after installation; in this case, if the vehicle is impacted and crushed, the light spike will be deformed, and the heavy spike will fall off.


